How to Resize Cabinets and Rebuild Drawers in 3D
Modifying a finished cabinet in 3D: a width slider recalculates panels, plinth, and legs. Rebuild the interior with new partitions, drawers, and handles.
A client changed their mind: the chest of drawers needs to be wider. I take the drawer cabinet from the previous episode, stretch it using the slider, and rebuild the interior from scratch — without drawing the panels a second time.
What I click in the clip
- Select the furniture piece → "Width" slider in the right column. Fronts, sides, plinth, and legs recalculate together.
- Select the old drawers and delete them — after stretching, they are too wide.
- "Simpler" → "Smart elements…" → "Vertical partitions": three → "Apply".
- "Drawers" → "Point location" → click each bay → "Insert drawer".
- Click a drawer → "Fittings" → railing → "Set handle position" → top, center → "Apply to selected".
Changing cabinet width with a slider, not from scratch
Before you move the slider, the program displays an arrow along the axis and highlights the face that will move. There is no "retype dimensions" step: sides, top/bottom panels, back, and fronts get new dimensions, while the panel list, pricing, and DXF files calculate from the same model. Legs space themselves out anew under the wider carcass, and the plinth, whose height depends on the leg, extends along with it. If the cabinet stands in a row, neighboring pieces shift by the same amount — I show this in the episode on countertops and plinths.
Entering a dimension in a large project no longer freezes the editor for over a second: the same change now locks it up several times faster. This does not mean "instantly" and does not apply to every click — the cost of selecting a cabinet in a huge unit is still on the list. I showed a test on a full built-in wardrobe in the performance test episode.
Drawers after stretching: delete and rebuild the interior
A drawer stretched along with the carcass is geometrically correct, but nobody wants a front spanning the entire width of the dresser. You delete the old drawers and divide the interior anew in "Smart elements": set the number of vertical partitions and click "Apply" — the partitions rebuild inside the furniture piece, while the carcass stays. Three partitions yield four bays in a row.
A partition, not a guide line, because a drawer needs a board on both sides to screw the runner onto. Why this rule exists — in the episode on drawer cabinets.
Drawers and handles in the new bays
Click each bay with the drawer tool and confirm "Insert drawer" — a pop-up shows the dimensions before insertion. The "Handle position" window opens immediately on the elevation of the entire furniture piece: you see all new fronts, set the top-center railing on one, and "Apply to selected" copies it to the rest in a single undo step.
What remains after modification
The same furniture piece, a new width, new drawers — and instantly an up-to-date panel list, PDF quote, and DXF files, all calculated from the model. I show the entire process from room dimensions to DXF in the first demo, and you can try modifying furniture without an account in the editor demo.
More articles
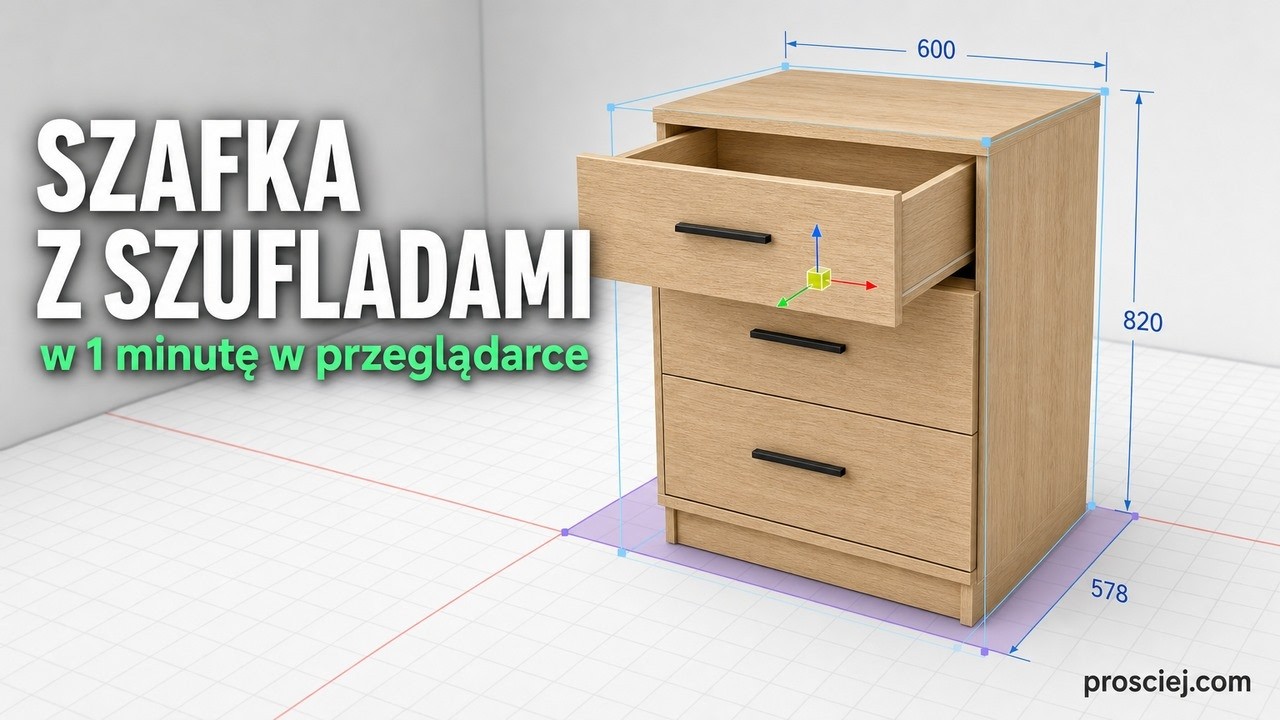
How to Design a Drawer Cabinet in 3D in One Minute
Drawer cabinet in 3D software for carpenters: helper dividers define niches, insert drawers in one click, and combine two niches for cargo storage.
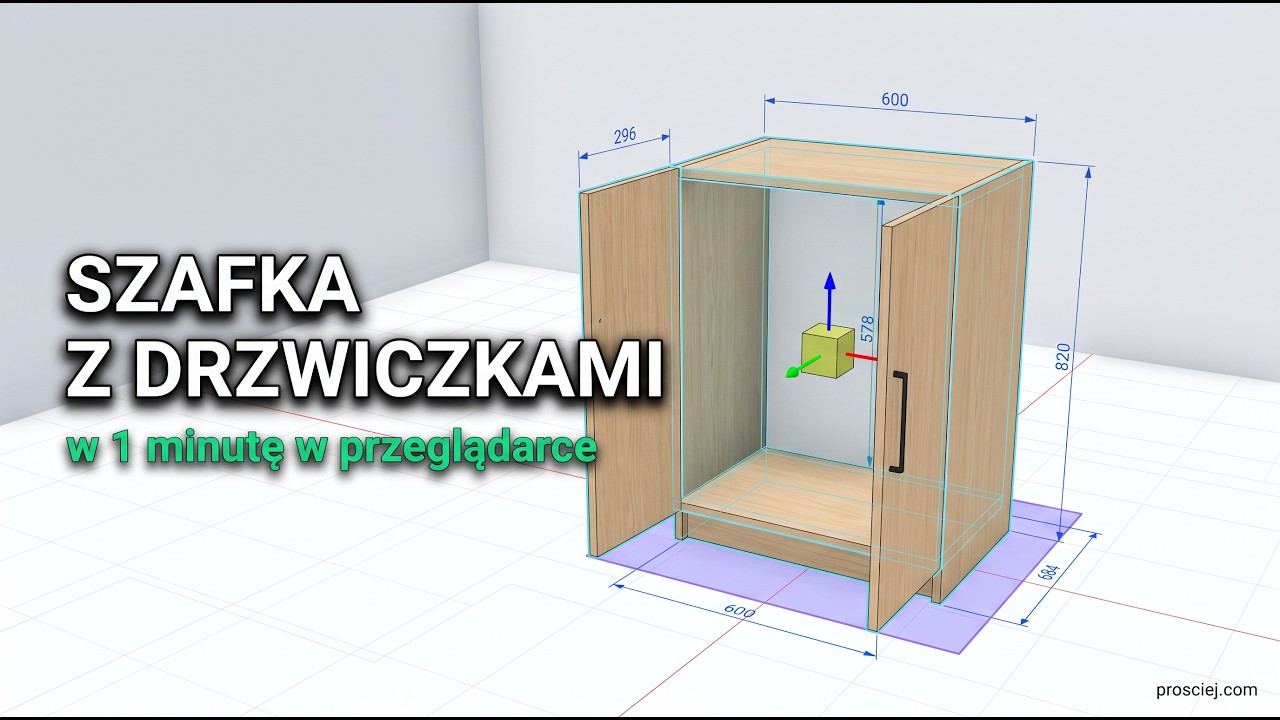
How to Design a 3D Cabinet with Doors in One Minute
3D door cabinet design for joiners: one-click carcass, point-to-place doors, legs, plinth, and bar handle. One minute of clicking.