Kitchen Countertop, Plinth, and End Panel in 3D Design
Countertop from a cabinet run, plinth closing L-corners, end panel on exposed ends, and handles on all fronts at once in 3D kitchen design.
This article covers cabinet finishing: the visible boards and how the program adds them automatically.
Kitchen countertop from a selected run of cabinets
Select one cabinet or an entire run of base cabinets, click "Add countertop", and you get a separate piece of furniture: choose the material and thickness, set the overhang over the front, and the software handles the corners in L-shaped and U-shaped kitchens automatically. The countertop immediately enters the cut list, valuation, drawing, and DXF — with its own layer, its own PDF page, and its own pricing line.
Waterfall countertop — a side that drops to the floor
A countertop can drop down the side all the way to the floor. Hover over the end of a run, the program highlights it in orange, check the waterfall option, and click. A side panel is no longer needed — the countertop itself serves as the finish.
Side panel on the exposed end of a run
The program detects that several cabinets form a single run and suggests a panel on the exposed end — but does not add it automatically. The button remains unselected with a "Recommended" label until you click it. Once clicked, the board becomes a standard part: it goes to sheet optimization with grain direction, edgebanding, DXF, and pricing. Place a neighboring cabinet next to it, and the recommendation withdraws itself.
Plinth in an L-shaped kitchen — a corner without a gap
Select the entire run and enable the plinth with a single click. You don't enter the height: it derives from the leg height minus clearance, so the board never misaligns with the legs. In the corner, the boards overlap by 20 mm instead of leaving a gap, and the section extending behind the perpendicular run is trimmed instead of running to the end of the cabinet and inflating the quote. Every end that abuts an object yields 1 mm of installation clearance.
Widen one cabinet, the run shifts automatically
"Make this cabinet 800 instead of 600" no longer breaks your layout. Widening a cabinet moves the entire run behind it by the same amount, narrowing pulls it back, and a single undo reverses the whole action. Legs work the same way — raise the entire selection at once, not cabinet by cabinet.
Handles on all fronts at once
The handle position window shows a scaled elevation of the entire unit — each front is a clickable rectangle with the handle rendered. Set one, select the rest, and "Apply to selected" copies the part, position, and orientation in a single undo step. Handles and legs were introduced in the previous article.
Overall dimensions instead of a wall of numbers
On large layouts, numbers used to clutter the furniture. Now you choose the level: no dimensions, overall dimensions only, or detailed dimensions always visible. With overall dimensions selected, details appear only when editing a specific cabinet.
The entire workflow from room dimensions to pricing and DXF is shown in the first demo. You can launch the software without an account in the editor demo.
More articles
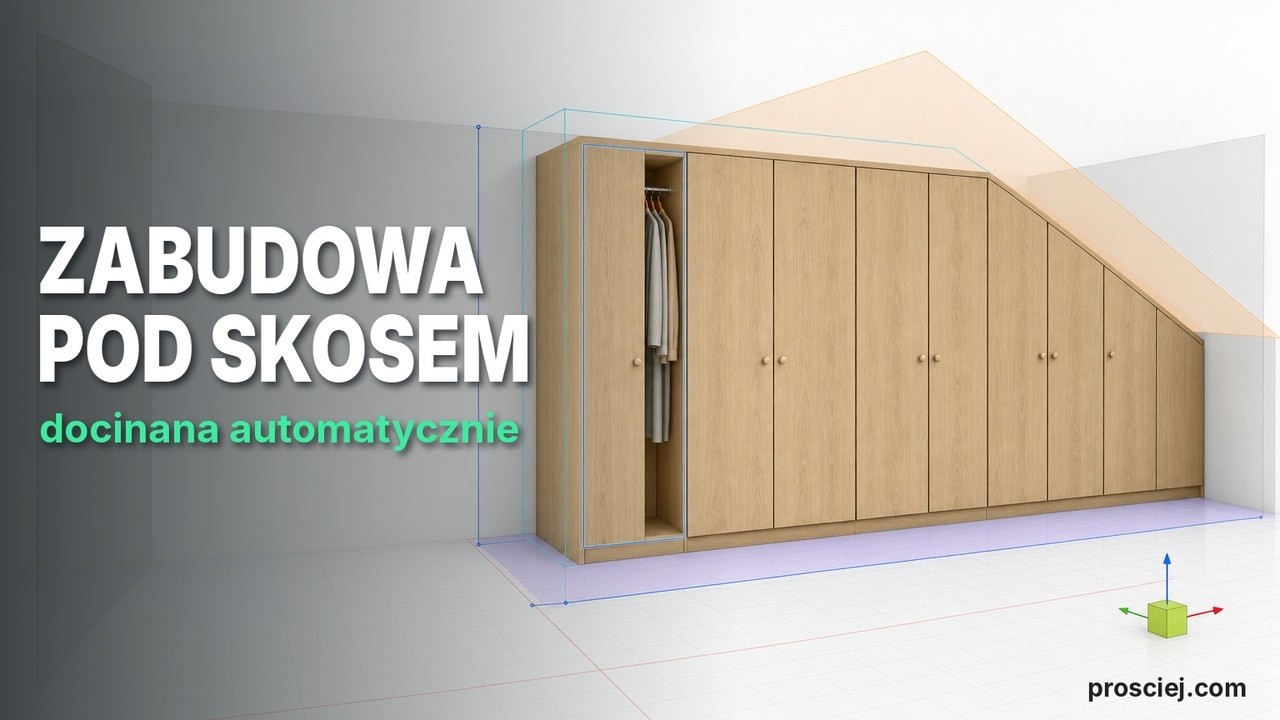
3D Sloped Fitted Furniture: Slanted Cut Panels
3D sloped fitted furniture: slanted cabinet units, fillers, and doors, ceiling-high fronts with bevel angle, and client drawings.
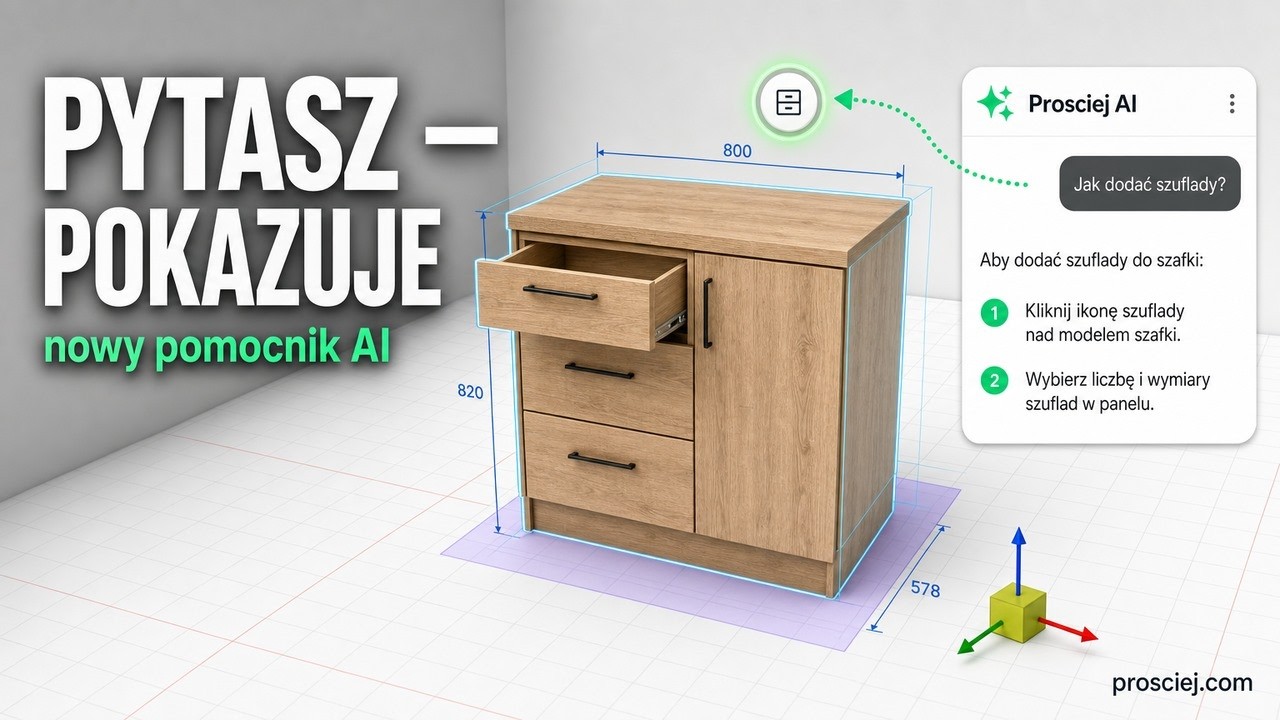
Furniture design software assistant: ask where to click
3D furniture editor Assistant: type what you want to do and it highlights the button step by step. Plus tall kitchen units and appliance niches.