3D Sloped Fitted Furniture: Slanted Cut Panels
3D sloped fitted furniture: slanted cabinet units, fillers, and doors, ceiling-high fronts with bevel angle, and client drawings.
The fourth part of the series on the fitted furniture creator. After kitchen furniture, I am using it to create a wardrobe for a sloped ceiling attic space: from a blank wall to doors under the pitch, without calculating panel sizes manually.
Global settings before designing fitted furniture
Before I start, I set the parameters that should apply to the entire project once. Every new cabinet unit stands on legs, on a plinth between side panels, or without a base. The top panel is full or made of stretchers. In the "Cutting pattern and edgebanding" block, I enter the edgeband thickness, saw kerf, and sheet edge trim. The panel list will then provide the cutting dimensions, and the cutting pattern will yield an accurate sheet count. Double-clicking "Add cabinet unit" inserts a unit with the latest selection.
Sloped fitted furniture: trimming cabinet units under the pitch
- "Create fitted furniture", then click on the wall number with the slope.
- "Trim to slope" — cabinet units go under the roof pitch, sides are cut into trapezoids, and the top panel runs diagonally.
- "Show slope points" — lines where the section side exits with a single straight cut. The section edge snaps to them automatically.
- "Offset from slope" and "Offset from ceiling" are two separate sliders. In the recording, I leave 20 mm from the pitch.
- "Fill space" — cabinet units immediately stand up with the base from the settings. You can combine two stacked units into one.
Flat filler panel next to the furniture wall
Next to the measured filler panel is a flat filler panel: an 18 mm board sits on the side of the end unit and extends flush to the front faces. You set how much it overlaps the side and whether it goes to the full depth. Under the slope, it trims along with the cabinet units and appears on the panel list as a separate item.
Sloped ceiling-height fronts with bevel angle
I select the entire setup, then "Front offset", upwards and "To ceiling". I only enter the gap under the ceiling, 10 mm in the recording. The program calculates how much each door leaf will grow, and flat filler panels reach the same line. Under a slope, the top edge of the door is cut at the pitch angle and bevel-cut from the back so the leaf can be opened. The bevel angle goes onto the panel list, PDF, and DXF, so you can set it on the saw. Change the gap, and the angle recalculates automatically.
Technical drawing and general drawing for the client
The technical drawing now features separate sheets for the cabinet unit, fronts, cross-section, parts list, and drawers. The piece name and its tags go into the sheet title. The general drawing is a PDF for the client: a view with and without fronts, shelf clear spans, and a QR code linking to the 3D preview. I show how to share just the preview with a client in the demo from dimensions to DXF.
Try it out without an account
You can test the fitted furniture creator, the "Open fronts" and "Hide fronts" buttons, as well as next step prompts in the editor demo.
More articles
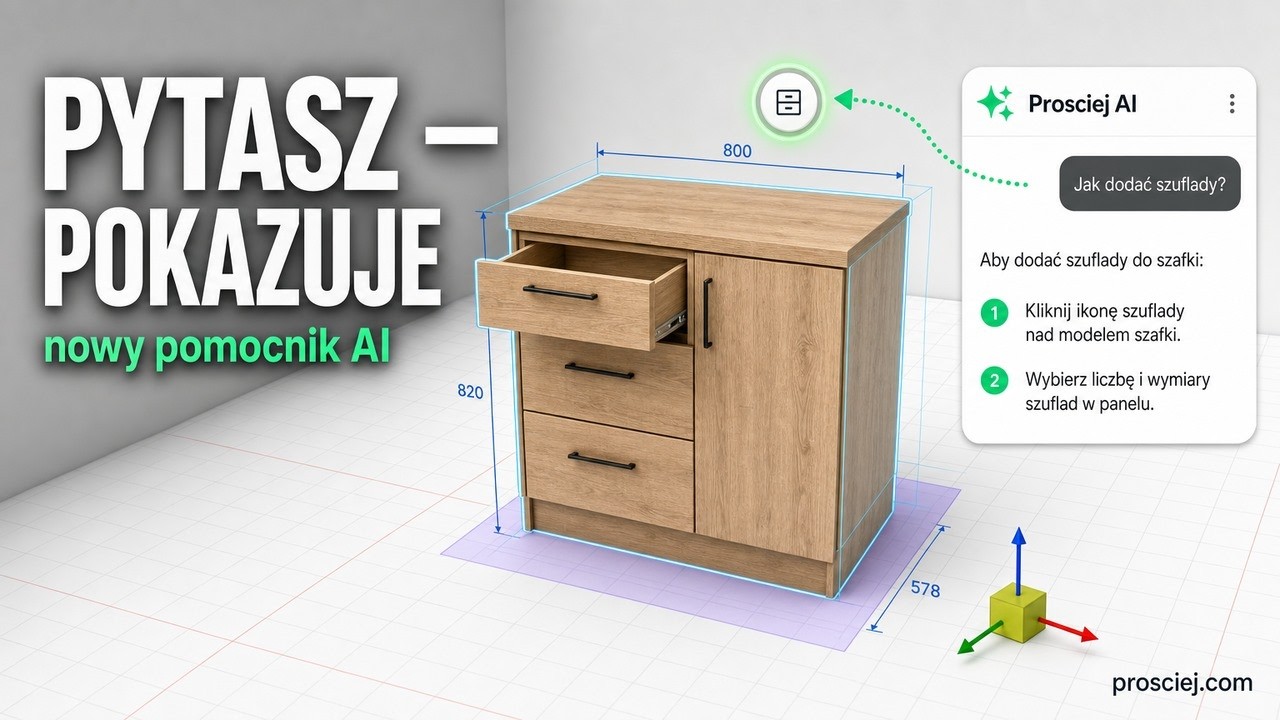
Furniture design software assistant: ask where to click
3D furniture editor Assistant: type what you want to do and it highlights the button step by step. Plus tall kitchen units and appliance niches.
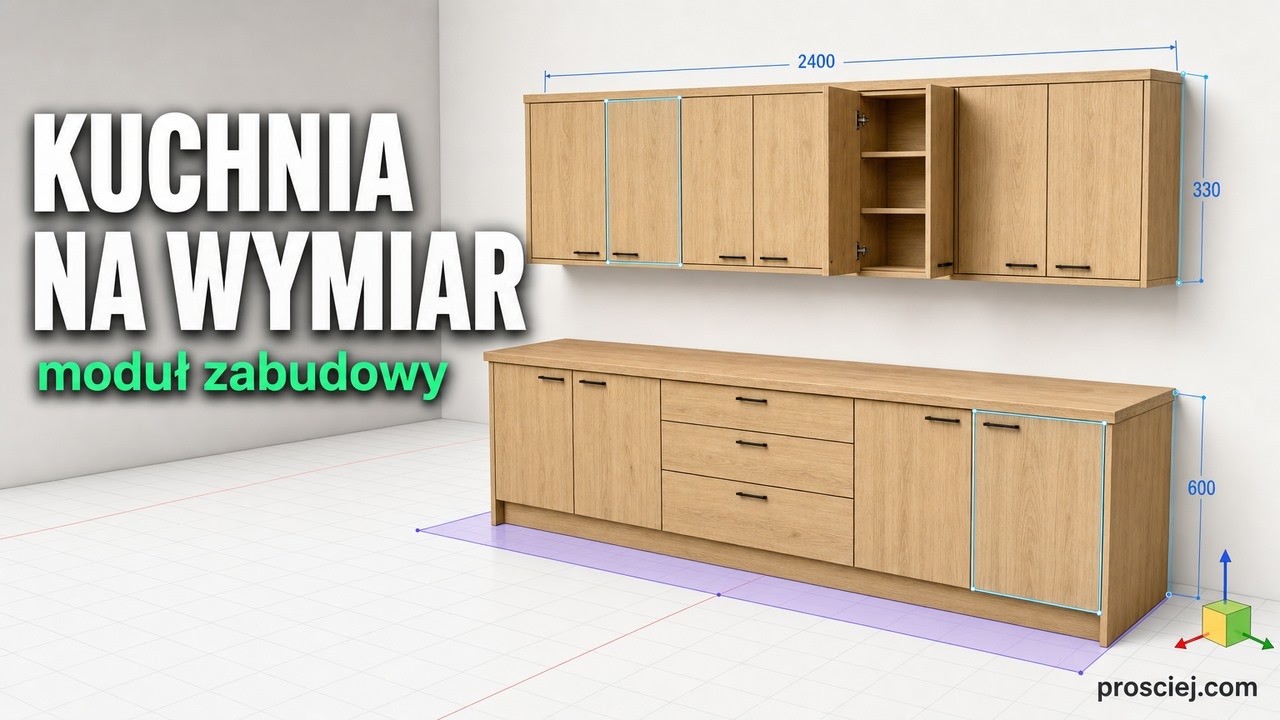
3D Kitchen Built-in: Base and Wall Cabinets Effortlessly
3D kitchen built-in: base and wall cabinets with custom depth, library units fitted to size, bottom cladding, and full-length countertop.