How to Design a Drawer Cabinet in 3D in One Minute
Drawer cabinet in 3D software for carpenters: helper dividers define niches, insert drawers in one click, and combine two niches for cargo storage.
A minute and a half from an empty scene to a chest of drawers on legs, with a plinth and knobs. You don't build drawers board by board: you set out niches, and the software builds the box, bottom, and front.
What I click in the clip
- "Add cabinet" — a complete carcass appears on the scene.
- "Simpler" → "Smart elements..." → "Helper dividers": number of equal vertical divisions, i.e., the number of niches.
- "Drawers" → "Select spot" → click in a niche → "Insert drawer"; selecting two niches at once gives you cargo storage.
- "Finishing": "Leg height (mm)" slider and "Plinth" toggle.
- Click on a drawer → "Fittings" → knob → "Set handle position" → "Apply to selected".
Helper dividers instead of cabinet shelves
Helper dividers are light blue lines that divide the cabinet carcass niche into equal parts. They are not boards — they do not enter the cut list or the quote. They attract moved elements like a magnet and define niches for smart elements. Three vertical divisions mean three niches for three drawers, without a single shelf inside the carcass.
A drawer always spans the full width of the niche: there is no board on the helper line to screw a drawer slide to. Two drawers side by side require a real vertical partition.
Inserting drawers: click in a niche, "Insert drawer"
You click the sections of the same niche; a tooltip next to the cursor shows the drawer dimensions in millimeters and an "Insert drawer" button. Selecting two adjacent niches together creates one tall drawer, for example for bottle cargo pull-outs. You select the bottom panel alongside: HDF or solid board. The drawer box, bottom, and front are regular boards — they go into the cut list, PDF quote, and DXF cutting layout alongside the carcass.
Drawer handles without editing the front directly
Click on a drawer and you instantly see the "Fittings" section — no need to double-click into the front itself. You select a knob or rail handle, the fitting attaches to the front and is immediately selected. In the "Handle position" window, you turn on the snap grid with vertical divisions, set the margin from the edge in millimeters, and "Apply to selected" copies the setup to all drawer fronts on the dresser — I describe this window in the article on handles, and copying in the article on worktops and plinths.
Legs, plinths, and next steps
You enable legs and plinths in the "Finishing" section just like with a cabinet with doors — there I describe leg height and plinths calculated from the leg height. I show the process from room dimensions to quotes and DXF export in the first demo, and you can build this dresser without an account in the editor demo.
More articles
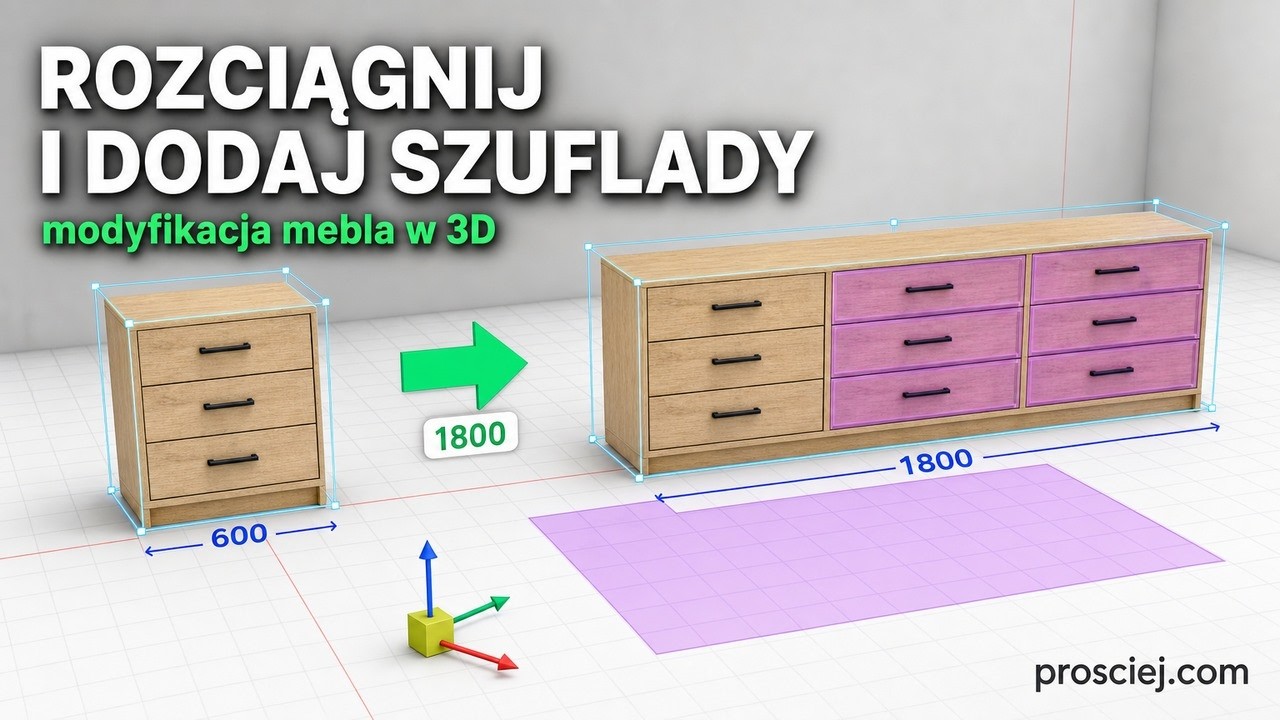
How to Resize Cabinets and Rebuild Drawers in 3D
Modifying a finished cabinet in 3D: a width slider recalculates panels, plinth, and legs. Rebuild the interior with new partitions, drawers, and handles.
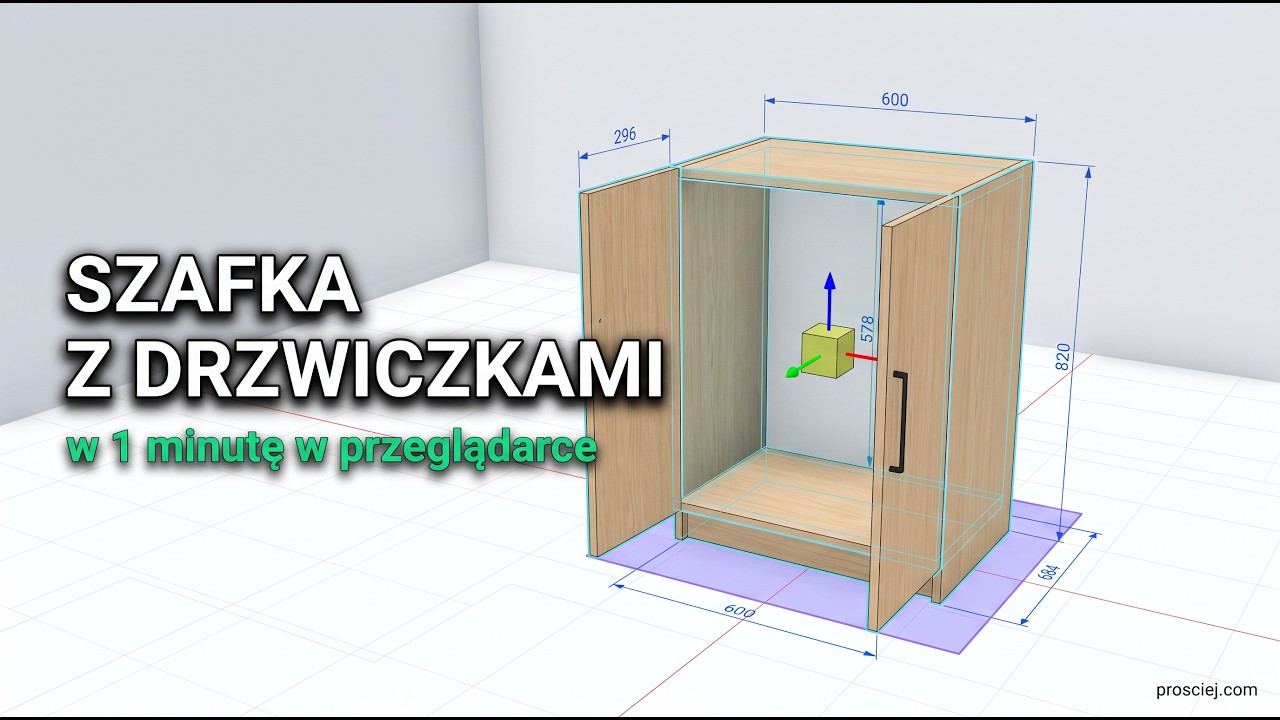
How to Design a 3D Cabinet with Doors in One Minute
3D door cabinet design for joiners: one-click carcass, point-to-place doors, legs, plinth, and bar handle. One minute of clicking.