How to Design a 3D Cabinet with Doors in One Minute
3D door cabinet design for joiners: one-click carcass, point-to-place doors, legs, plinth, and bar handle. One minute of clicking.
One minute of clicking from an empty scene to a cabinet with a pair of doors, on legs, with a plinth and handles. You don't draw any panel: the program adds the carcass, fronts, and hardware.
What I click in the one-minute clip
- "Add furniture" — a complete carcass appears: sides, top/bottom panels, and back, in the default project depth.
- "Simpler" → "Smart elements…" → "Doors" → "Point location".
- Click in the left half of the niche, click in the right, "Insert door" in the tooltip by the cursor.
- In the same window, "Finish" section: "Leg height (mm)" slider and "Plinth" toggle.
- Right column → "Hardware" → "Set handle position" → bar handle → "Select all" → "Apply to selected".
Cabinet with doors: single door or pair
You don't dimension the doors — you point to the niche. Clicks on one side merge into a single door, while left and right halves create a pair. Before you click "Insert door", the tooltip shows the door dimensions taking into account the gap from the project settings. You indicate the area yourself — the program doesn't guess.
The tool detects the cabinet interior: shelves, "Auxiliary divisions" lines, and drawer front faces. A stack of drawers at the bottom and empty space above them yield a door exactly above the drawers — without a dummy shelf that you'd have to delete later. Once confirmed, the furniture piece remains selected.
Hinge side: left, right, or automatic
Select a door: in the right column there is "Hinge side" — "Auto (Left)", "Left", or "Right". The program detects the side automatically; in a pair, the doors open from the center; if it gets it wrong, you can switch it manually. This is a production decision: you drill for hinges on this side, and space must be left there for opening. Doors on a rotated, corner, or sloped unit open correctly, and the handle moves along with the door.
Legs and plinth in two clicks
The leg height is a number on the slider — from the floor to the bottom of the carcass — with one project default that you can override on a selected cabinet. You turn on the plinth with a toggle; its height is read-only because it derives from the leg height minus clearance, so the board won't mismatch the legs. In the project settings, you define the default depth for new furniture and whether a new cabinet is created with legs and a plinth by default. I show continuous plinths and L-shaped corners in the episode on countertops and plinths.
What next with the finished cabinet
You configure the bar handle once, and "Apply to selected" mirrors it onto the second door — more in the episode on handles. Doors are standard panels: they go to the panel list, PDF quote, and DXF cutting plan along with the carcass. Legs and handles are not included in exports — the hardware list is a separate, unreleased feature. I demonstrate the path from room dimensions to DXF in the first demo, and you can build this cabinet without an account in the editor demo.
More articles
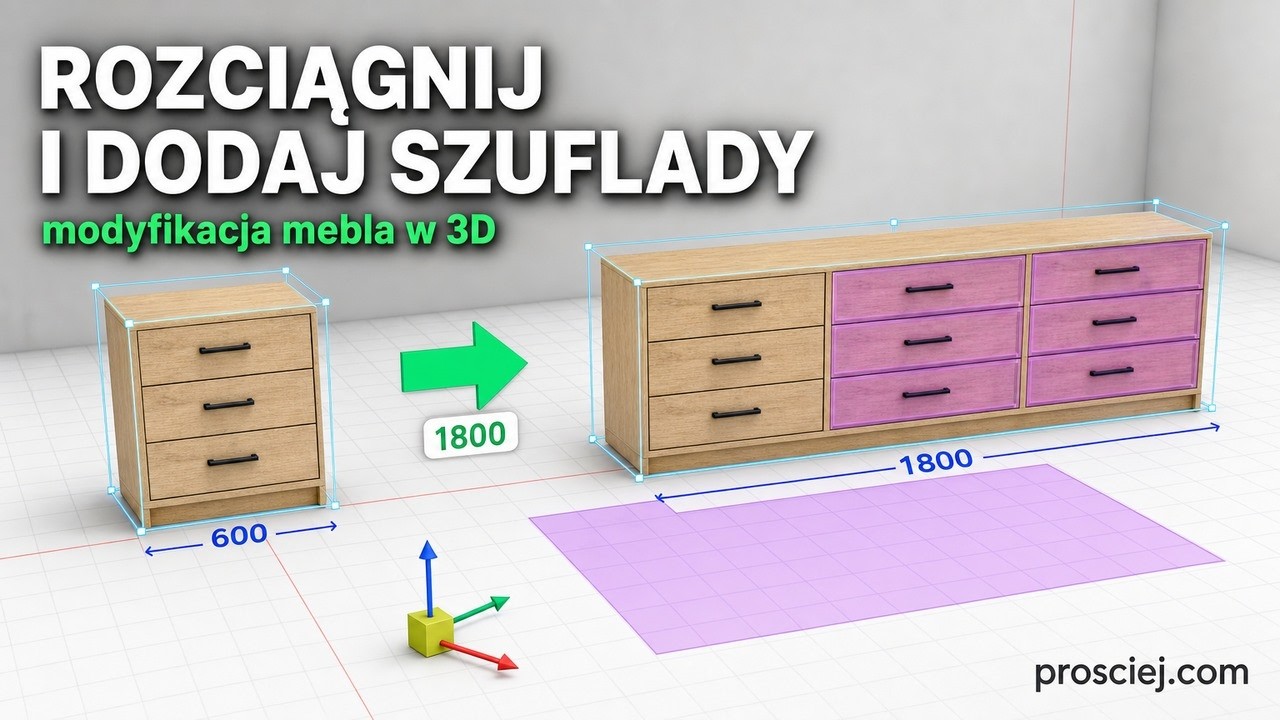
How to Resize Cabinets and Rebuild Drawers in 3D
Modifying a finished cabinet in 3D: a width slider recalculates panels, plinth, and legs. Rebuild the interior with new partitions, drawers, and handles.
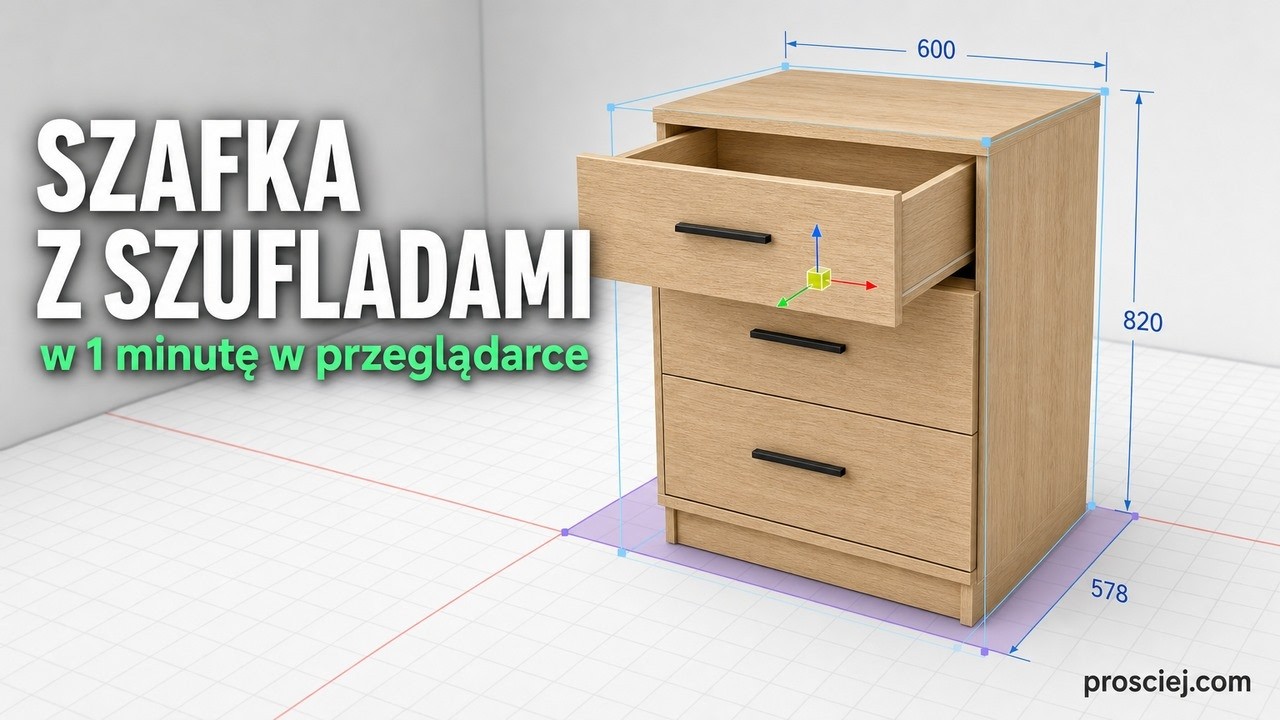
How to Design a Drawer Cabinet in 3D in One Minute
Drawer cabinet in 3D software for carpenters: helper dividers define niches, insert drawers in one click, and combine two niches for cargo storage.