3D Furniture Decors: Textures and 18 mm Countertop
3D decor previews, board textures, 18 mm board countertops on cutting sheets, and flush board cabinet backs.
This episode covers furniture board decors and recent additions: a new decor picker, better textures, a board countertop, and a board cabinet back. The last two came from user requests — thank you.
How to choose a furniture board decor in 3D preview
- Select a piece of furniture or panel and click the "Material" field in the right panel.
- A window opens showing decor photos arranged in categories, complete with a search bar and manufacturer filter.
- Hover over a tile — the 3D model immediately updates to that decor, while a large photo, code, and name appear alongside.
- Click to confirm. Closing the window without clicking restores the previous decor.
Previously, there was just a narrow list of small swatches where a dozen browns looked identical. Now you can browse decors on the customer's cabinet right in front of them, without undoing trial after trial. The "In this project" section displays decors already used in your project, so matching a new cabinet to the rest takes just one click.
Realistic board textures: surface structure and gloss
You will find a "Better textures" toggle in the global settings. Enabling it applies actual manufacturer structure and gloss data to EGGER decors, making wood pores visible and allowing light to reflect across fronts as you rotate the camera. Kronospan decors get a subtler effect because the manufacturer does not publish surface structure data. This adds an extra load on hardware, so keep it turned off on lower-end computers.
Furniture visualization for clients via link
Clients who open a link sent via "Share" have better textures enabled by default. They can turn them off with their own toggle if their smartphone struggles to render them.
18 mm furniture board countertop
In "Add countertop", next to standard 38 mm thick kitchen worktops, you will find a "Board countertop" tab. This uses a standard 18 mm board in any decor from the library, selected using the same photo window.
- Shift-select the cabinets and click "Add countertop" in "Smart elements".
- Select the "Board countertop" tab and choose a decor.
- Mark waterfall edges on exposed sides and click "Add countertop".
This countertop goes straight to the cutting diagrams and cost estimation complete with edge banding, just like any other panel. The software alerts you if a board span is too wide without support. You can read more about kitchen worktops in the article on countertops, plinths, and end panels.
18 mm board cabinet back instead of HDF
Under "Smart elements", cabinet back options now include "18 mm board inside (flush)". Instead of a 3 mm HDF panel, you get a back made from the carcase board, cut to the inside dimensions and flush with the rear edges. This is ideal for open shelving or freestanding units. Shelves, dividers, and drawers automatically adjust to the reduced internal depth, and the program reports what it modified. For now, you select the back decor from a list.
Try decors on your own furniture in the editor demo.
More articles
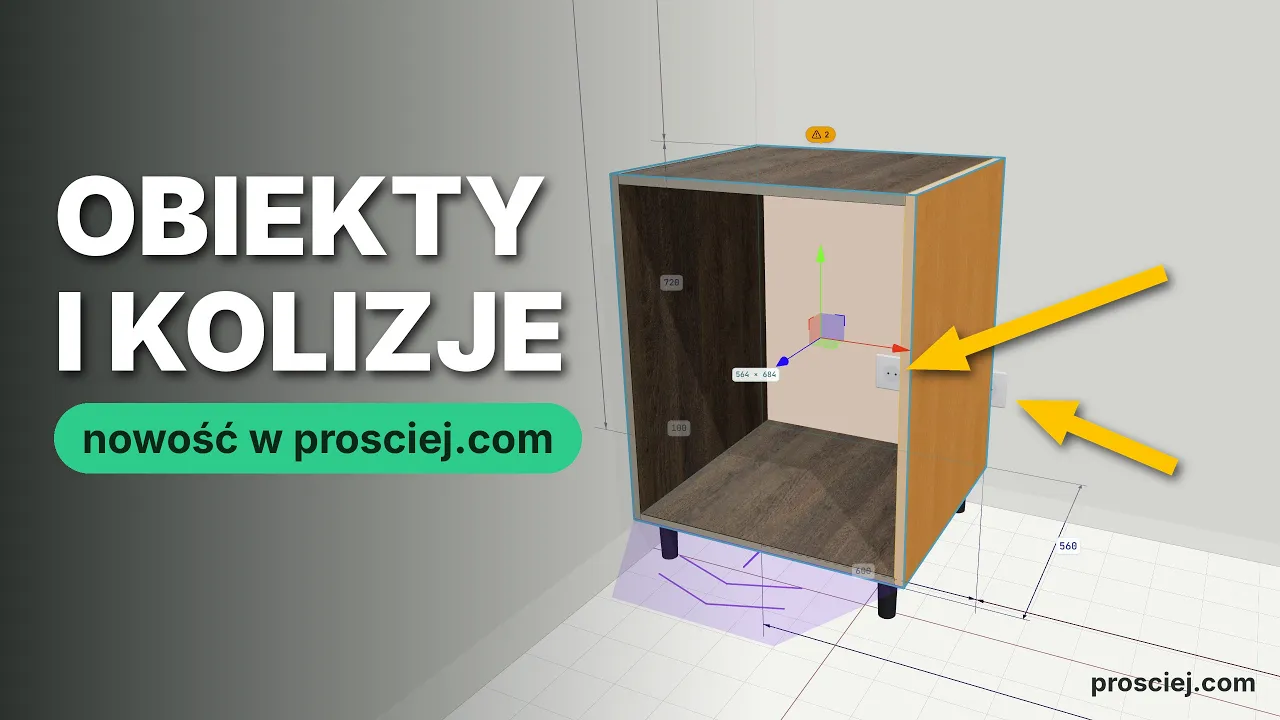
Furniture & Outlet Collisions in 3D Before Assembly
Avoid costly installation errors. Spot collisions between furniture, outlets, walls, and doors in 3D before assembly begins.
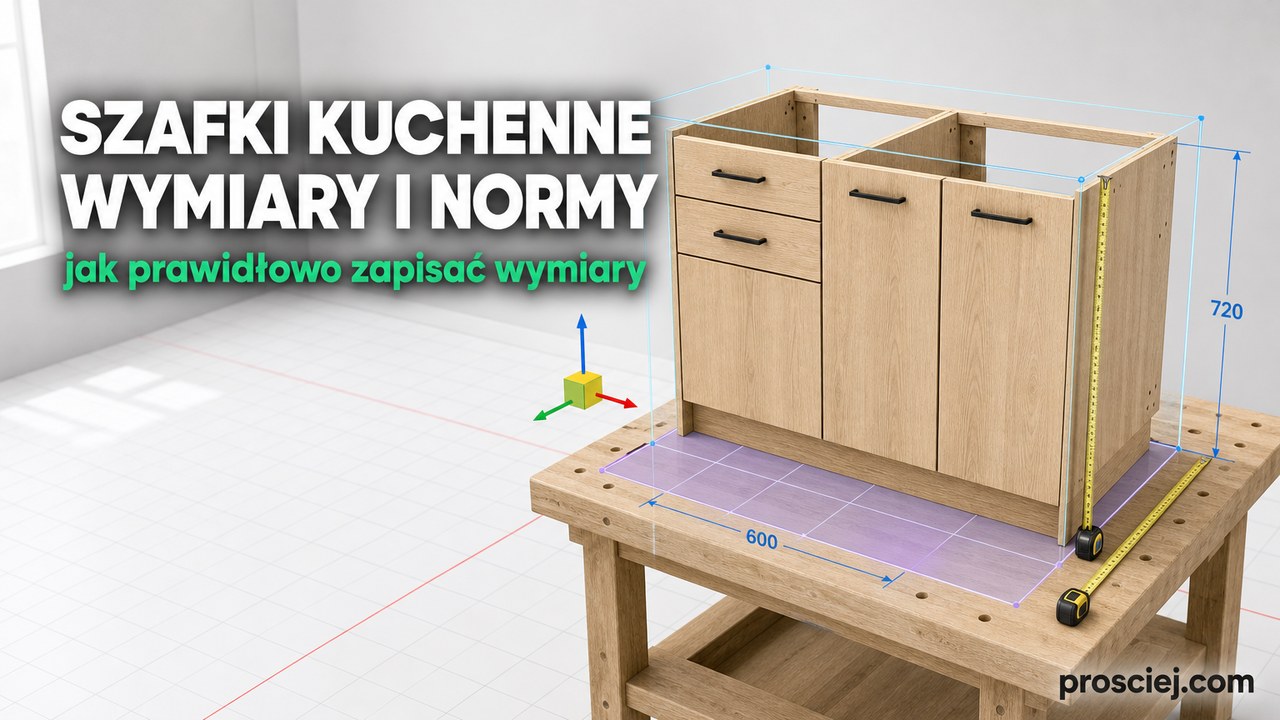
Kitchen Cabinet Dimensions: Sources & Drawing Rules
Where to get kitchen cabinet dimensions, which standards regulate them, what they omit, and how to correctly dimension cabinets and kitchen plans.