3D Custom Wardrobe: Full-Wall Furniture Planner
Custom wardrobe in 3D: the planner divides the wall into cells, places cabinets from the library, and automatically suggests filler strips.
The first part of a series on the new built-in furniture planner. In this article, I set up a simple wall-to-wall custom wardrobe: from a blank wall to a complete set of cabinet bodies with filler strips, without calculating a single board dimension. Slopes and kitchens will be covered in upcoming parts.
Custom wardrobe design: wall and depth
- Click "Create built-in unit" in the top bar, then click the wall number.
- "Depth" slider with snap points — set to 600 in the video.
- "Add vertical" and dimension from the wall: guide lines that sections snap to, leaving space for a filler strip next to them.
Sections and levels instead of measuring boards
Place a section by hovering over free space on the wall, enter the width, and click "Accept section". A padlock keeps its width fixed while you adjust neighboring ones. "Add level" cuts sections into cells, creating a grid. You can delete a level line in a single section if you need a tall cabinet body there, or move it in just one selected column.
Cabinet body, library furniture, or scene item
Hovering over a cell opens a menu with three options. "Fill space" inserts a cabinet body sized to the exact cell dimensions. "From library" takes a ready-made piece of furniture, shows how it adjusts width, height, and depth, and inserts it complete with fronts and shelves. "From structure" adapts furniture that is already in the room. You can also turn two stacked cabinet bodies into a single shared body with a horizontal divider. Prepare a few cabinets in your library and simply drop them into the cells.
Filler strips to the ceiling and walls with minimal seams
After clicking "Next step", the planner automatically suggests where filler strips are needed. Select the ones you want and extend them to sit flush with the fronts. The filler strip above the sections is cut from a single board for as long as possible — a seam only appears where the board length runs out.
Clothes rail and gap between fronts
Add fronts later using "Smart elements". A new feature allows a single door across multiple vertical cabinet bodies — you specify the number and spacing of hinges yourself, as the program does not draw them out. Under "Smart elements", there is also "Insert rail" — the clothes rail appears directly in the wardrobe, and you set its height from the floor and distance from the front in the right panel. If there isn't enough vertical space below the rail for shirts or jackets, the program will suggest it without blocking you. Set the gap between fronts once, complete with a diagram showing how it distributes across adjacent fronts, and "Apply to project" applies the same gap across all fronts.
What's next
Add plinths and side panels as shown in the episode on worktops and plinths. You can try the planner without an account in the editor demo.
More articles
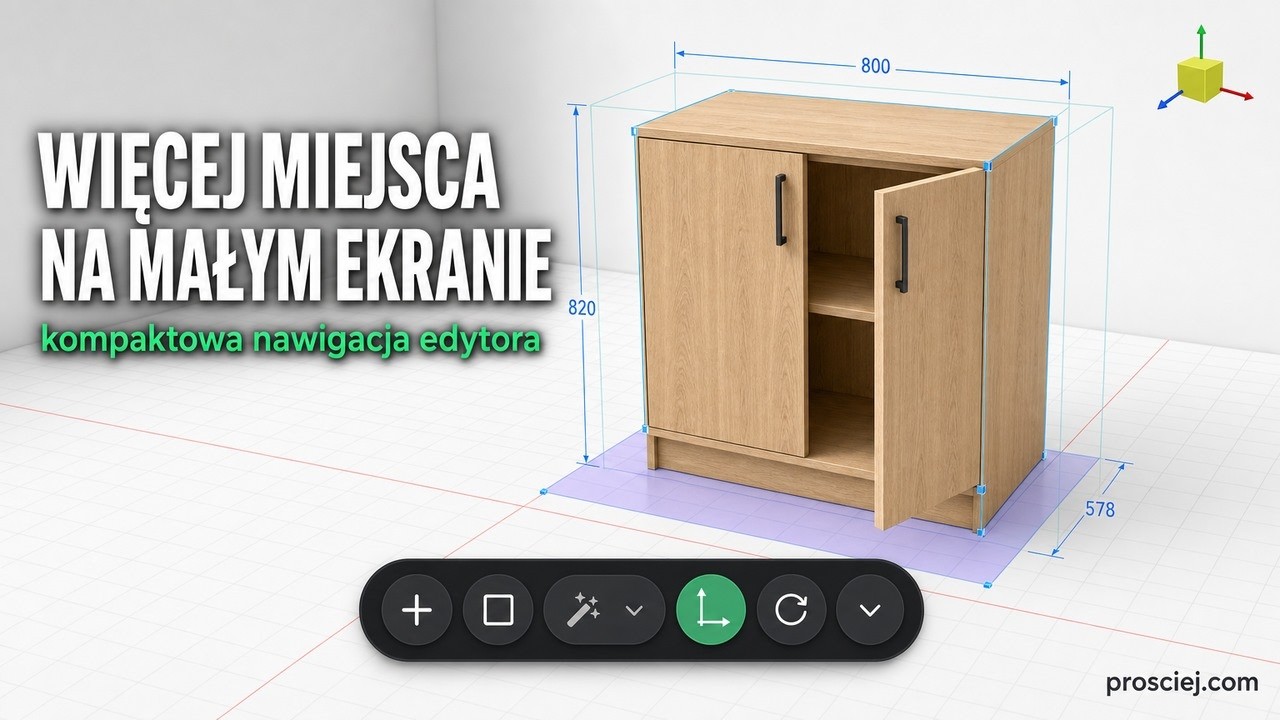
3D Furniture Editor on Small Screens: Compact View
Smaller laptop? The new compact mode hides the top toolbar and right column in Prosciej, giving you more space for your furniture design.
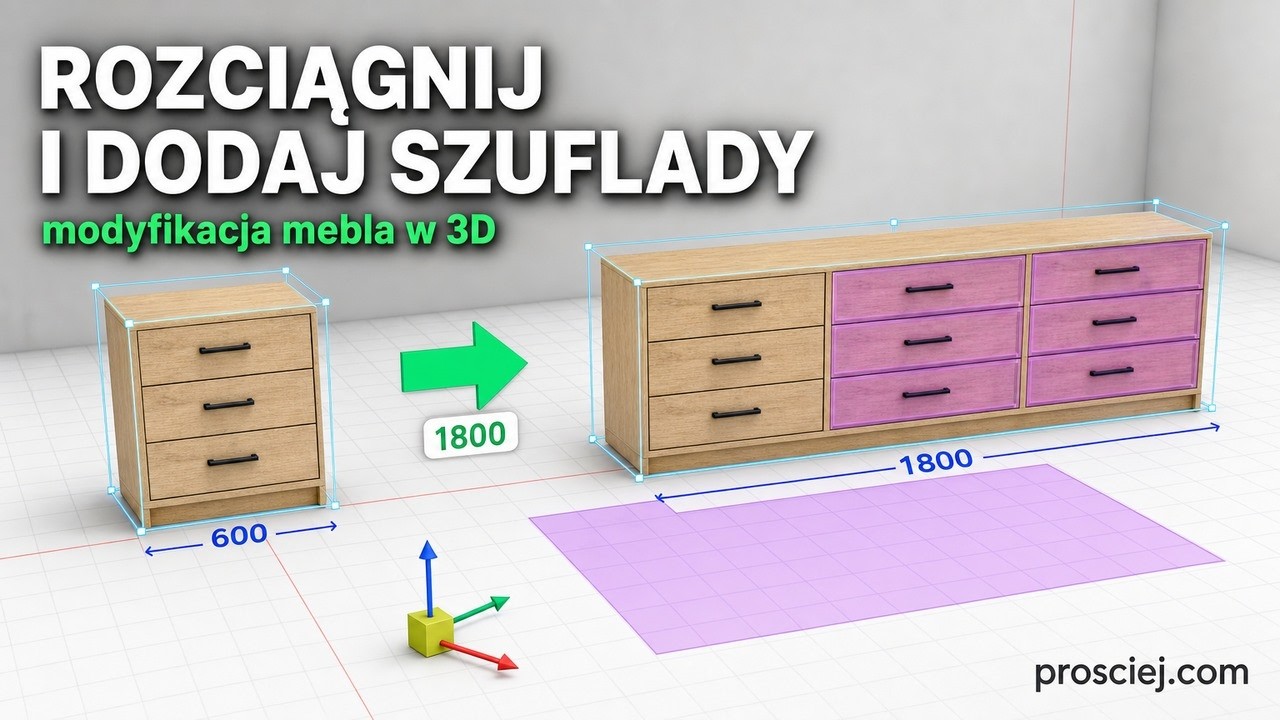
How to Resize Cabinets and Rebuild Drawers in 3D
Modifying a finished cabinet in 3D: a width slider recalculates panels, plinth, and legs. Rebuild the interior with new partitions, drawers, and handles.