Photorealistic 3D kitchen visualization from a project
Preview of a new feature: editor shots turned into photorealistic kitchen photos for clients. Showing a prototype — along with what still needs work.
This episode is different from the previous ones. I draw my own kitchen in the editor, and at the end I turn it into photorealistic photos using a prototype that currently only works on my desk.
Photorealistic furniture visualization for the client
The editor view is technical: flat boards, floor grid, see-through walls. It is great for measuring and building, but not for selling. A client sitting at the table wants to see a kitchen, not a technical drawing. Today you can show them a screenshot or a project preview link — both look like a software interface, not an apartment.
How a kitchen visualization is created
- You switch to render mode — walls become solid, the grid and dimensions disappear, and you see exactly what will go into the photo.
- You set up the shot with a standard camera and take a picture. One series holds up to five shots.
- You choose the interior style and time of day from a preset list. There is no custom prompt field.
- You click "Create visualization" and wait — a full set of shots takes a few dozen seconds to process.
- The finished photos go to the project gallery: preview, zoom, download.
The geometry is maintained by a depth map taken from the exact same shot, so wall placement, the window, and furniture proportions remain yours. Artificial intelligence adds the finishing touches: flooring, wall color, lighting, and accessories.
What works and what needs improvement
A shot taken from inside the room comes out well — cabinets stand where I placed them, the backings and window are in their places. A shot taken from behind a wall breaks down: the model draws in a wall that does not exist in the design.
The second thing to improve is series consistency. Photos from a single session can differ in accessories — one features a lamp, while another has completely different items. I am working on both issues, which is why there is no button in the app yet.
Where the design came from
I drew the kitchen from scratch in the same episode: the room outline with a window, base cabinets, tall units, wall cabinets, drawers, and doors. I show the entire process from room dimensions through the cut list to pricing in the first demo.
What else I am working on
For a complete kitchen picture, appliances and countertops are missing. Models for the sink, oven, induction cooktop, and faucet are already done, but not yet in this version of the program. A countertop generator is being built separately. Both topics will return in their own episodes when they are ready to show.
What's next
I collect upcoming episodes on the article list. You can try the software without visualizations, but with everything that already works, in the editor demo.
More articles
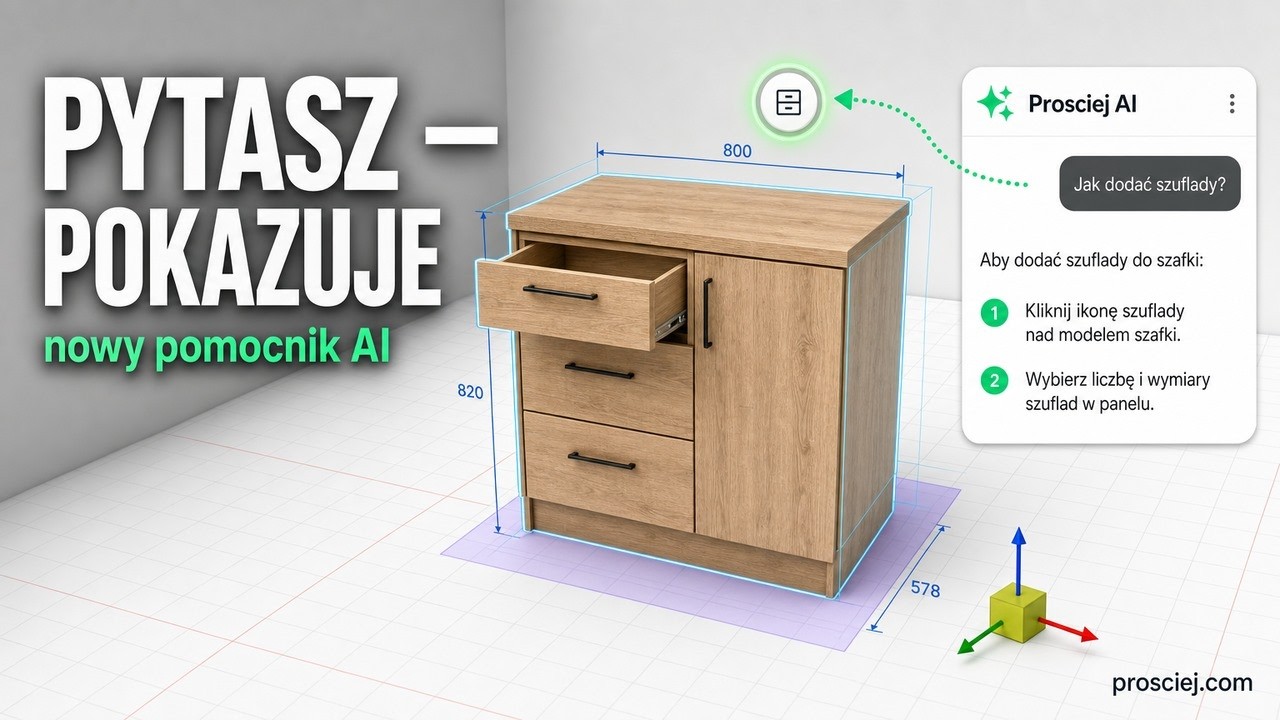
Furniture design software assistant: ask where to click
3D furniture editor Assistant: type what you want to do and it highlights the button step by step. Plus tall kitchen units and appliance niches.
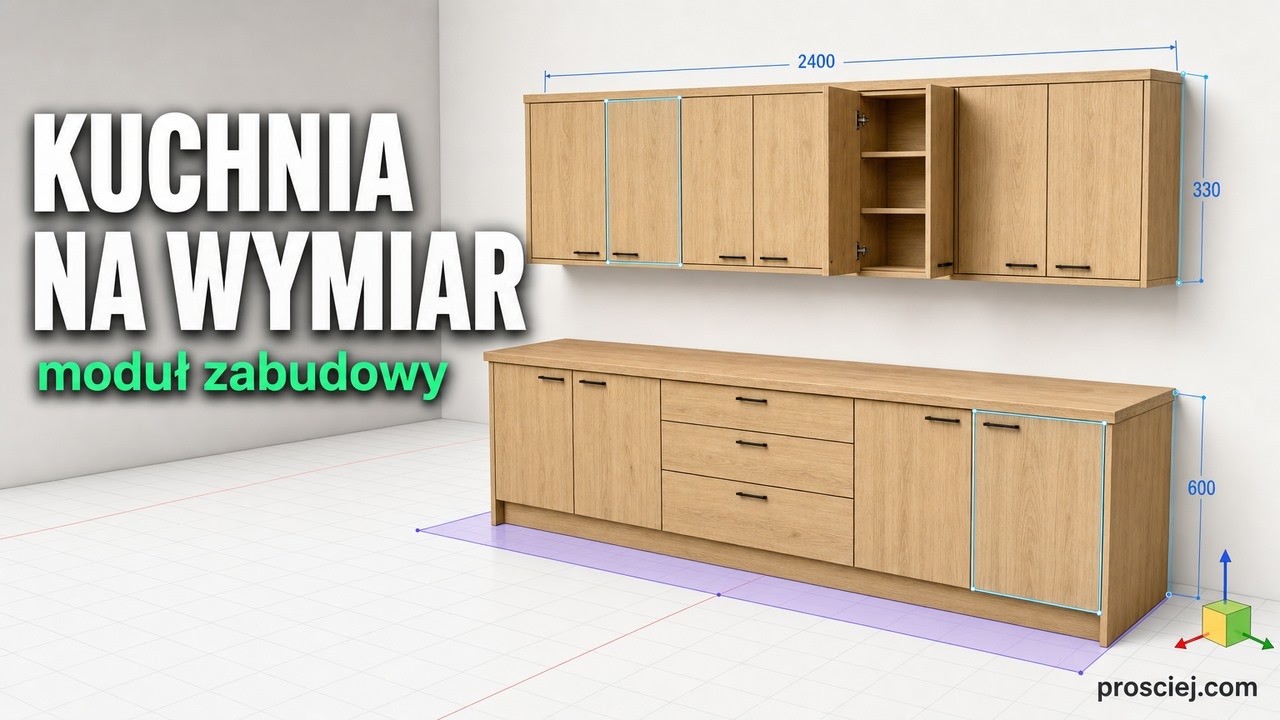
3D Kitchen Built-in: Base and Wall Cabinets Effortlessly
3D kitchen built-in: base and wall cabinets with custom depth, library units fitted to size, bottom cladding, and full-length countertop.